
How to draw in C# using the Graphics Class – CSharp Programming
Basic overview of drawing in C#
How to use the Graphics class to draw to the screen in C#
The Graphics class is one of the fundamental classes used in programming with Windows Forms and GDI+. Through the Graphics class, you gain access to information about the display resolution and device capabilities. In this article, you’ll learn about the Paint event and how it supplies you regarding an adequately initialized Graphics object. This article also covers the most common operations performed using the Graphics object.

The first thing we will do is open Visual Studio and click “Create a new project” to get started. We are going to create a new Windows Form in C#. You could choose any project name you would like and its destined location on your desktop/pc.

A blank project will be generated to serve as your canvas. You could change the width and height based on your preference. The next thing we need to handle is the paint event for the form. When the form is drawing itself, it will call this paint event, and then inside of that, we will get a handle to the graphics object. Afterward, we could paint the form ourselves. It is a step-by-step process that we need to accomplish.

Declare a new graphics object with this syntax above. With this step, we could make new shapes like rectangles.
How to draw a rectangle
To draw rectangles and squares in C#, the GraphicsObject provides the DrawRectangle() method. There are two ways to use the DrawRectangle() method. We will begin by drawing a rectangle without a pre-created Rectangle object.

- The first step is to create a new brush. The syntax above is the code that you can use to alter the color and name of the brush.

- It also needs the coordinates of the rectangle you want to create. To do that, you can encode the x, y coordinates like in the syntax attached.

- Since we’ve used 100×100 as the coordinates, it came out as square, but you could change the coordinates to generate your desired shape.
For the second method

- To draw a rectangle, you will draw four lines. We will make a drawing pin and set that equal a new pen in this method. You could also set the color for your rectangle. The syntax above is the example that will generate your rectangle.
How to draw a circle
Ellipses and circles are drawn in C# using the DrawEllipse() method of the GraphicsObject class.
We made a drawing scene representing the “sun,” a circle in one of our examples.

- You could declare a “new brush” to create the round object. The syntax above shows the various brushes for different objects: the ground and the sun in the said scene.

- An ellipse will be generated using the declared sun brush and filled with this syntax in the next step.
How to draw a line
Lines are drawn in C# using the DrawLine() method of the Graphics Object. This method takes a pre-instantiated Pen object and two sets of x and y coordinates (the start and endpoints of the line) as arguments.

A “ground” was made to complete the drawing scene in the example. A straight line represents it.

Coordinates were also filled up to determine the width, height, and length to set up the ground.
The next step in this project is to try drawing a person! A stickman person, to be exact. It will be composed of a circle for its head, a line for its limbs and body.

- We added another drawing pen to change its color, white.

In the syntax above, we tried to make a whole component to make a stickman. With various lines and objects, it resulted in the image below.
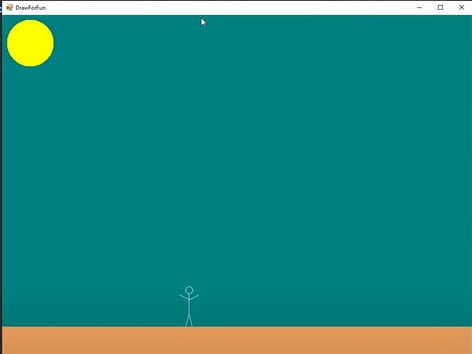
The background is also changed to the color blue! And there you go, a scene with a stickman was made using simple objects and lines.
How to draw an image
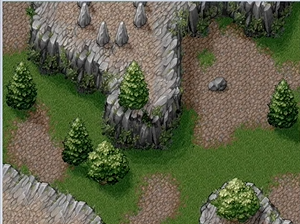
To draw an image, it will require creating a bitmap from the file. To do this, the syntax below will help to run the image. We will use the image above as the background for our generated image.

The syntax above draws the image, but the problem is that our form and image aren’t the exact sizes. We could stretch the image to fit the form by doing a new rectangle.


The image will be stretched to fit the form better with this code.

We will also try to attach some images to the scene. We will do next to draw an image bitmap from the file again.
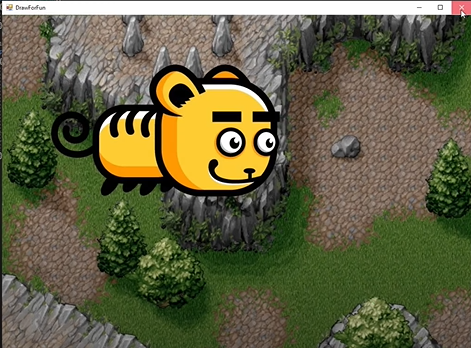
The attached image is quite big, so you could opt for a smaller size of the image you want.

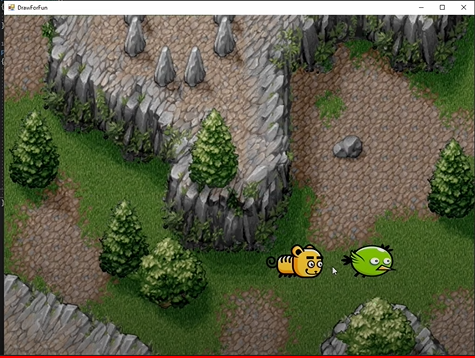
This is the revised image of the cat once you’ve scaled it correctly.
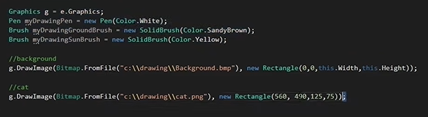
Here is the complete syntax for the background and the cat. Make sure to layer your drawings correctly to make them appear in the correct order. After the cat image, we will draw the bird.

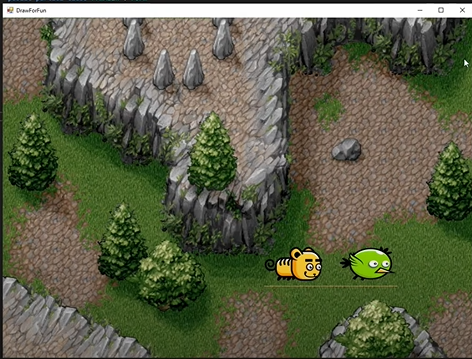
Here is the image after the code for the bird image is generated and run.
To add an extra effect, we will add a line object in the scene.

The last thing that we will add to this project is text. To include text in your image, follow this syntax below. Make sure to set a font style first!


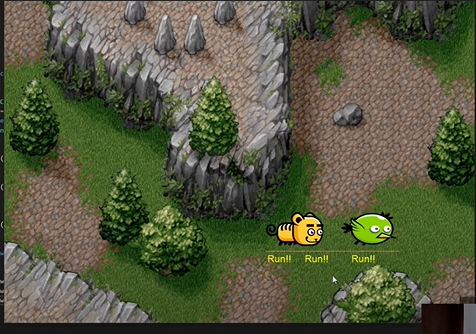
The text is added and repeated three times. The project is done!
This article shows how various graphical objects can be drawn within a drawing programmatically using C#. It may be quite challenging, but first but with troubleshooting, patience, and creativity, you could also finish a project in no time!
Comment ( 1 )